We have a sensory drawer in our house that has become very utilized! It’s a great resource for when my kids need to move and touch and have extra sensory input. It’s a drawer that I’m making a mental note of as it grows, changes, and adapts so that I can use a similar setup in my own classroom someday. Things come and go in the drawer, but these are the staples.
In our sensory drawer you’ll find:
Pop its: Is there an official name for these? I’m not exactly sure. But we love them! We have a large variety of these, some big, some small, some tougher, and some softer.
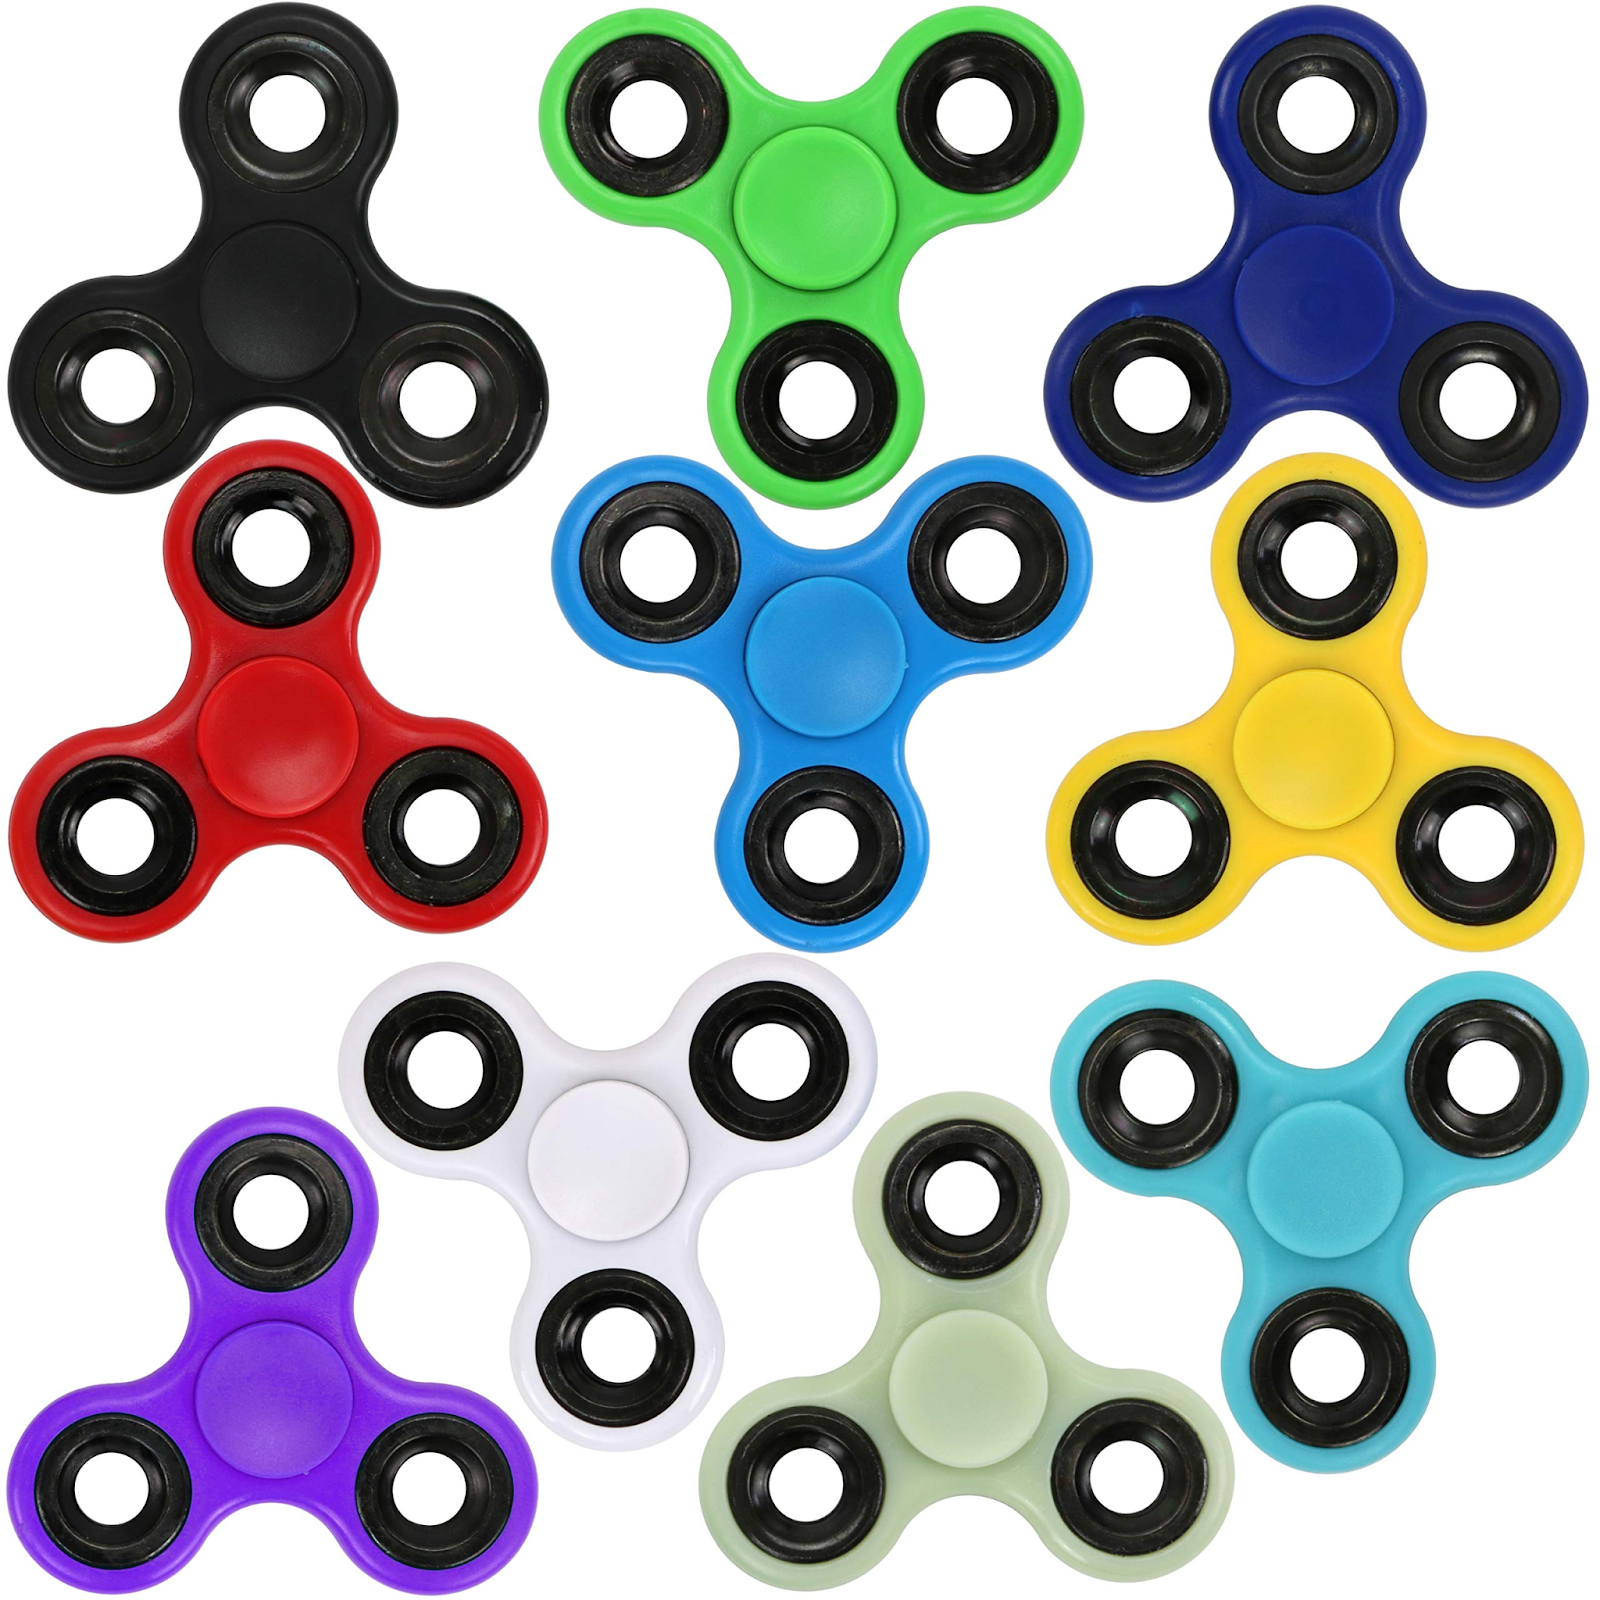
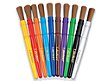
Fidget spinners: The OG fidget.
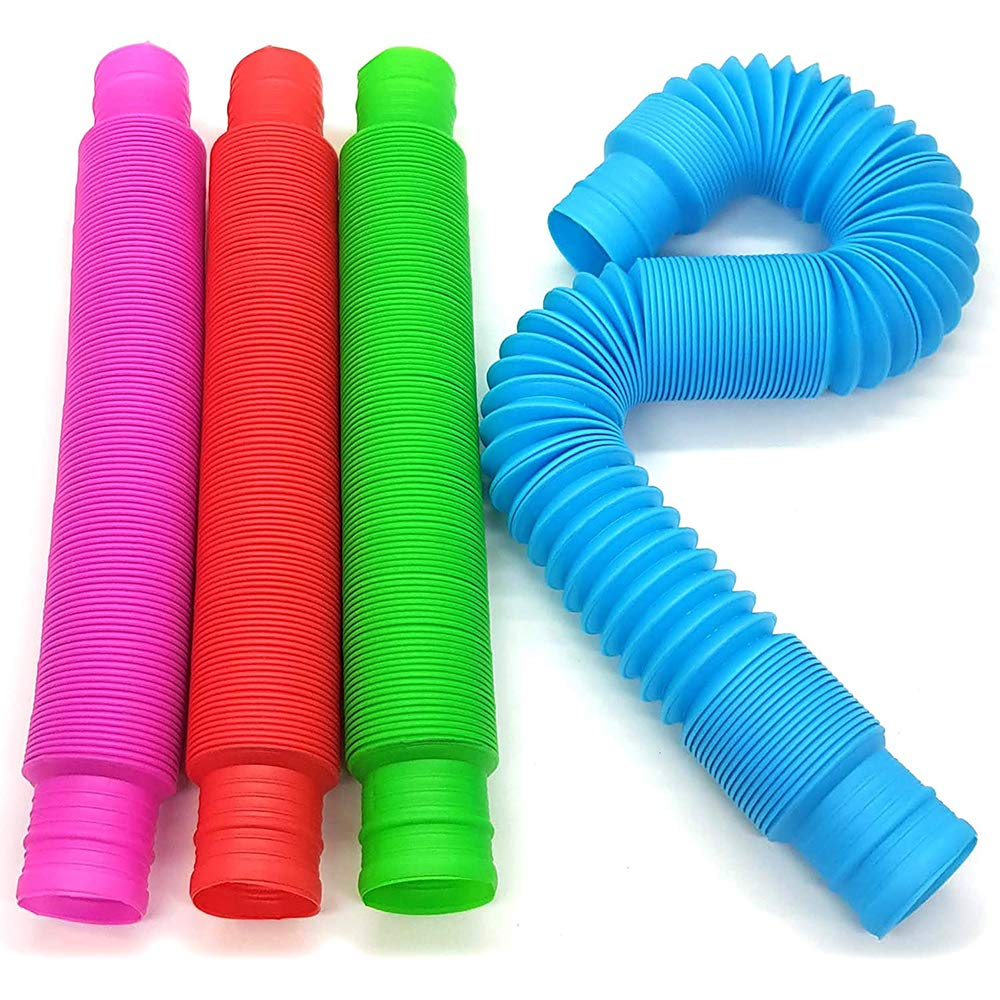
Pop tubes: Okay I know, these can get annoying because of the noise. But if it’s something you feel like you can handle in your home or classroom, there are a lot of possibilities with these!
Silky scarves: These have come in handy when someone needs something smooth to run through their fingers and work great in pretend play, too!
Moon sand: There is a special bin set aside with this stuff. I tried a few homemade versions, but none of them ended up how I wanted them. So we caved and spent the money on actual Moon Sand. It’s been our best purchase! It doesn’t dry out, doesn’t stick to your hands, and is easily picked up off the carpet when spilled. (I won’t even say “if” because we all know it’s a “when” it’s spilled, not “if” it’s spilled.)
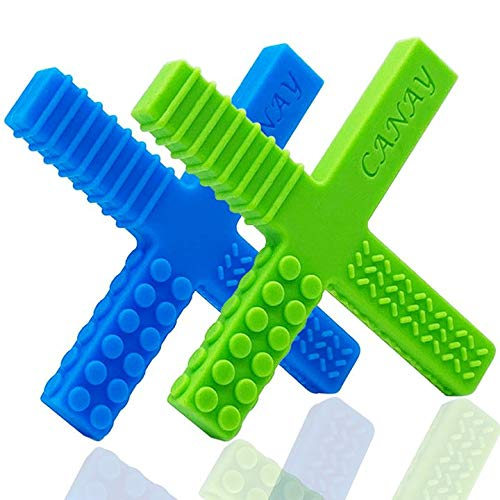
Chewy tubes/ sticks: My son is a chewer! He will chew on anything and everything if we let him. So instead of toys and clothes getting ruined by chewing, we give him safe options to chew on instead.
I have a child with high sensory needs. You can read more about it here. One area we discovered to be a struggle with was regulating his vestibular sensory input. He was having the hardest time eating meals, going to bed, listening to stories, and more. Once we realized his vestibular sensory input needed regulating before we attempted these tasks, it changed our lives! We get all of our kiddos involved with this sensory input and it helps all of them, even those without sensory needs.
I can’t help but be grateful for figuring this all out before he starts kindergarten in a few years, instead of figuring it out when he starts school for the first time. This is not the story with many families, and it can make the transition to starting school that much more difficult.
Instead of pulling sensory input ideas out of my head each time we needed something, I made a quick printed paper of options for my kids to choose from. We have one laminated full sheet of paper to look at, and one that I cut into strips and laminated for when we want to randomly draw them out of a cup.
It’s nothing special, just something I whipped together one afternoon. But if it’s something that can benefit your household or classroom in any way for those higher sensory needs kids (or any of your kids or students that just need a movement break), then here’s the free printable for you! Just click on the pdf to download and print. Enjoy!
Fidget Toys: the very thought can make teachers (and parents) groan and roll their eyes. From stress balls to fidget spinners, there always seems to be some new gadget taking over your classroom. Should they be banned? Should they be embraced? The debate has been ongoing ever since stress balls first gained popularity in the 1980s. The practice of using sensory tools, however, has been around for much longer. Baoding balls originated during the Ming dynasty and were used to reduce stress, improve brain function, and aid in dexterity development. Before weighted blankets, there were Turkish yorgans which date back to the 16th century. The average winter yorgan weighed anywhere from nine to thirteen pounds. Komboloi, or “worry beads”, were used in Ancient Greece to promote relaxation.
While these sensory tools might have been around for centuries, the science behind them has only recently been looked into. Dr. Anna Jean Ayres first identified Sensory Integration in the 1960’s when she noticed there were children who struggled with functional tasks who didn’t fit into the specific categories of disability that were used at the time. She developed the term “Sensory Integrative Dysfunction” to describe the problems faced by children whose brains struggle to receive, process, or respond to sensory input. Sensory input instructs us on how to respond to our environment and there are consequences from being over or under-stimulated, especially for children who are still learning how to process these cues. When confronted with bright lights, messy or cluttered spaces, and loud noises, children can become agitated and retreat to quieter spaces; whether that is physically finding relief in a less stimulating area or by shutting off their sensory receptors and essentially shutting down. When stimulation is restricted, as is common in a traditional classroom, children will find their own ways to meet their sensory needs. Teachers know exactly what this looks like: tapping, bouncing up and down, kicking, touching everything and everyone, chewing on pencils, making noises, or getting out of their seat to go on some made-up “but I really needed to throw this away” mission.
This is exactly where fidget toys come in handy. (Ha! I didn’t even realize that was a pun until revising this post). And I’m not talking about fidget spinners in all their noisy, distracting glory.
It might be counter-intuitive to think that doing two things at once can enhance a student’s ability to focus on their lessons but evidence is slowly backing it up. One study demonstrated how increased movement boosted the cognitive performance of children with ADHD. Another found that students who used stress balls had improved focus, attitude, social interactions, and even writing abilities. The trick with fidget toys is finding those that don’t require so much brain power that they pull focus from the main task. How many of you have your own fidget methods that you revert to without realizing? Do you chew on pencils or repeatedly click your pen? Perhaps you doodle or bounce your leg. We all have different ideas of what an optimal “focus zone” looks like and it’s important to help students discover their own learning styles and preferences. It’s important for adults too–I decided to invest in my own fidget toys a few months ago and I always keep one at my desk.
Looking out over your sea of pupils, it can be a little overwhelming to try and figure out their individual needs but as I always say, “When in doubt, ask it out!” As you go into a new school year, reach out to the parents and ask what has helped their child calm down in the past. Do they have a history of thumb-sucking? They would probably respond well to chewelry or rubber pencil toppers. Having a quiet space in your classroom or noise-canceling headphones would be good options for children who need time alone in their room to defuse. Some students need physical contact in order to stay grounded so pressure vests or weighted lap pads would benefit them the most.
Another great way to learn your students’ individual learning styles is to involve them! Have them complete a task while adjusting the volume of background noise and have a discussion about which one was easiest for them to work with. Give them fidget toys to use while reading to them or showing them a video and then ask them if they were able to focus better or if it was a distraction. This also helps your students develop self-regulation skills. Giving your students access to different sensory tools allows them to stop seeing them as toys and start to recognize when they really need them.
If this sounds like wishful thinking, there are lots of people who would agree with you. Fortunately there are also lots of tips and tricks out there to help you integrate fidget toys into your classroom. Here are some of the most common ones that I encountered in my research:
BOUNDARIES. Work with your students to come up with rules for the fidget toys that they are willing to follow. Post the rules somewhere in your classroom as a visual reminder.
Have a variety of tools available to the class. This can prevent jealousy among students and allows you to use discretion in deciding what toys are actually beneficial.
Find toys that don’t produce noise or require sight to use. The kids should be able to use their hands or feet to fidget while using their eyes and ears to learn.
Be patient! Once your students get used to the sensory tools in the classroom, the novelty will wear off and they’ll be less of a distraction.
Remind your students that “fair” isn’t the same thing as “equal”. Different people have different needs and it’s important to support those needs.
Ultimately the choice to integrate sensory tools into your classroom is up to you! The fad fidget toys will come and go, but there are plenty of tried and true options that can really work wonders when properly used.
Are fidget toys a menace to society or a misunderstood ally? What challenges or successes have you seen come from them?
Probably my most requested blog post, finally put together for you! A grand list of my early ed activities must-have items. Nothing on this list to too special and majority of the items you will probably find around your house already! To see more tips on early childhood activities, visit this page here. This list is a good starting point if you want to be in a position to be able to just grab and go for activities. Nothing on this list is sponsored or endorsed, just a list from one Early Childhood Educator to another.
Paper/Sticker Supplies
Construction paper
Colored paper
Cardstock
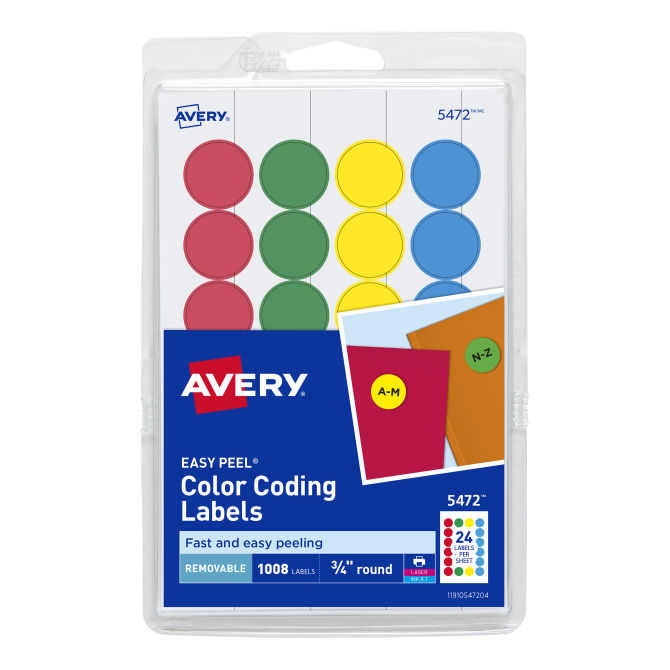
Dot stickers
Paint Supplies
Washable tempera paint
Washable watercolor paint
Rags for cleaning
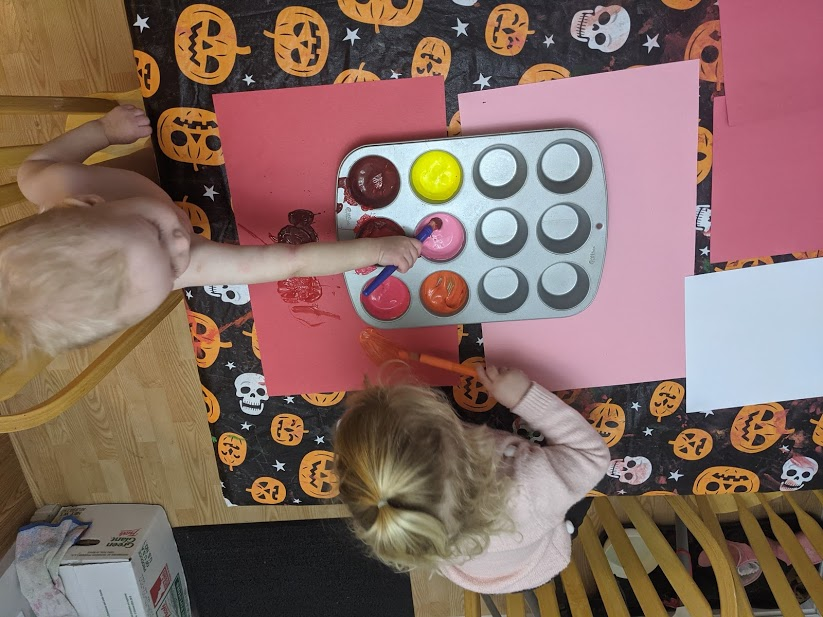
Paintbrushes- I like the chunkier, bigger kind. Not just the small ones that come with kid’s watercolor kits.
Office Supplies
Crayons
Markers
Permanent Markers- For you, not the kids!
Kid scissors
Pipe Cleaners
Glue
Glue sticks
Painters tape
Sticky notes
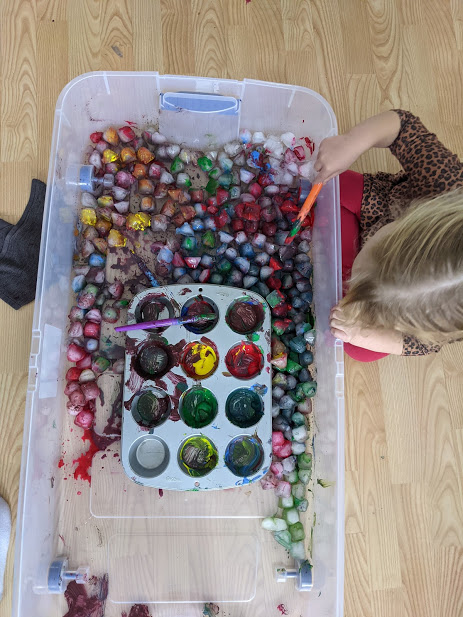
Sensory Bin Supplies
Large storage bin- roughly 28 qt
Small storage bin- roughly 6 qt
Sensory bin fillers: A lot of these are materials I have around my house or material I buy for a specific sensory bin I have in mind. I do not keep all of these materials on hand at all times.
Funnels
Small people or animals for pretend play
Bowls
Spoons
Ice cube trays
Muffin tin
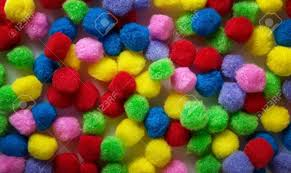
Pompoms
Misc
Toothpicks
Popsicle Sticks
Food coloring
Dollar store or IKEA scrub brushes
Shoelaces
Colored beads
Squirt bottle
With this list of supplies that I have on hand, I can pull out an activity usually within a moments notice and only takes about a minute or two for me to set them up, I’m all about the easy, simple activities! If there is something specific I want to do with my kids I will make a trip to the store for those items.
Are there any other must-have items you keep on hand?
Kids are messy. And that can be incredibly stressful.
Messes mean things are out of control and someone has to clean it up (and it’s probably going to be YOU.)
Messy activities can be unpredictable and scary.
But there’s a method to the madness when kids are building endless forts, dumping out all of the legos, and spreading paint in every corner.
If you look past the mess, that’s where the learning lies.
Take a second to look at the blocks scattered to every corner to notice the tiny houses built high, and the toy cars driving between them. Realize that this means they are practicing and learning about their own sense of community, using their fine motor skills AND gross motor skills as they move blocks and cars while also crawling around from home to home.
When the paint is dripping from the paper take a second to remember that your child just learned important spatial awareness skills, got in some practice holding a paintbrush (which can later translate into holding a pencil), took in information on colors and the reaction they’ll get when colors are mixed, and more.
In all of the messy play, there is learning buried deep under it, essential learning they will need for the rest of their life.
Sometimes the learning includes boundaries, such as keeping the blocks in a certain room and not throwing them. Sometimes the learning means how to be responsible with the paint and not get it all over the walls and doors. Read more about setting up kids for success here.
And part of messy play is the aspect of learning to be clean. Kids cannot learn the responsibility of being clean until they are given the chance to be messy. Kids are smart! When you have an ice bin full of paints and paintbrushes and the activity comes to a close, they are going to learn that the paint tray needs to be put in the sink and rinsed out. That their paintbrushes need to be washed, and the ice needs to be properly disposed of, with the bin wiped clean, before any more play can happen.
If clean up also includes changing their clothes because they got them wet or covered in paint, that adds time. If they also need to wipe up the floor because they spilled so much, that adds time.
They want to be able to go from painting an ice bin to playing on the slide as fast as possible, to they will learn how to be responsible playing with messy activities. And they will learn how to clean up and handle a mess when it inevitably happens. It takes time and practice, but it comes eventually.
You’ll see this translate to real-life applicable skills when your child spills their water and instinctively grabs a rag to clean up the mess, without you asking! Because they know what it means to clean up after themselves, and they learned how they learn best- through play!
Did you catch how many times I mentioned the words “mess” and “learn” in this article? About the same amount of times! Because those two go hand in hand! Let the kids be messy, they are learning.
If you’re here you need some direction on how to start up sensory bins and other activities for the early childhood age! So before we begin, I want to share with you a whole page I’ve put together of multiple blog posts that can direct you and answer questions that you may have. Check it out here!
Adding in hands-on activities for your early childhood learners can be overwhelming at first, but don’t stress! I am here to help. What qualifies me? I was in the exact same position as you a few years ago. I had the desire to be the #teachermom that pulls out fun, educational activities for my kids, and even followed plenty of people on social media giving me all of the ideas for activities. BUT it seemed absolutely overwhelming to do so. Eventually, I got the hang of it, and now I am in a place where I can walk you through it! Here’s what I did.
I invested in materials. Typically, these materials are fairly inexpensive and you’ll probably find a lot of them around your home (rice, cooking utensils, paper, markers). But I found the most success when all of the materials were there and ready for me to pull out. I spent around $75 at Amazon, Walmart, and The Dollar Store combined. This is also partially because I didn’t want to share my kitchen materials with my kid’s activities, so I spent a good chunk on new spoons, cups, muffin tins, etc. Having all of the materials together and organized helped tremendously to help me feel like I could be a part of this crafty early childhood educator bandwagon of hands-on activities!
I lined out the purpose of these activities. Yes, I want my child to have these experiences and learning opportunities. But was I setting up activities for me to sit down and work with my kids one-on-one? Did I need the activities out to keep them entertained while I worked on something else? Yes to all of the above. However, it would take time to achieve the latter.
I decided to use the sensory bins and activities for one-on-one time and connection with my kids at first, and then eventually use them as something for them to do while I made dinner or worked. I wouldn’t be setting myself up for success by expecting my kids to play independently and keeping expectations of the activities.
I found the right social media accounts to follow. There are parents and educators out there that have done all of the dirty work for us! You don’t have to carefully create a new activity each time you feel your child needs entertainment or has a skill they need to practice. Others have already done it, and they are on social media! My favorites: Busy Toddler and Days with Gray.
These two stand out to me because they don’t post extravagant activities. It takes minimal set up time, simple materials, and are doable for any parent or educator to put together! Watch out for those social media accounts that are posting above and beyond activities that will make you feel inadequate to carry them out!
I made a schedule. This was a temporary thing that I didn’t have to do for long, but helped initially. It made it predictable for all of us and gave me a visual of what I could expect. I decided activities in the morning would be 1:1 and done with new activities that needed a lot of supervision. Afternoon activities, while I was cooking dinner, would be independent activities that I knew I could trust my kids alone with. It looked like this:
Week one: Activities in the morning after breakfast, before nap.
Monday: bubble foam Tuesday: rice scoop and transfer Wednesday: water painting on construction paper Thursday: Color mixing pour station Friday: contact paper art
Week two: morning activities for together time, afternoon activities for independent play
Monday morning: moon sand Tuesday afternoon: water painting on construction paper Wednesday morning: color mixing pour station Thursday afternoon: contact paper art Friday morning: dot sticker line-up/ color match
Week three: Start trying two activities a day!
Monday morning: moon sand Monday afternoon: sticky note shape match Tuesday morning: rice bin scoop and transfer Wednesday afternoon: water sensory bin Thursday morning: play dough Friday afternoon: dot sticker activity
This isn’t exactly but gives you an idea. Mornings were for working together and learning together. Afternoons were for independent play with materials I could trust my kids with. This schedule didn’t last forever, only about 3-4 weeks. But once I was in the rhythm and knew what to expect more, I didn’t need the schedule as much and slowly tapered off. Eventually pulling out activities became intuitive and I could tell when we needed one, what type it needed to be, and so forth.
Do what you feel comfortable with. Are you not into playdough or paint? THAT IS OKAY! You can still have success. Just because a teacher or mom on Instagram shows how “easy” and “doable” it is to let children play with slime doesn’t mean you have to do it too.
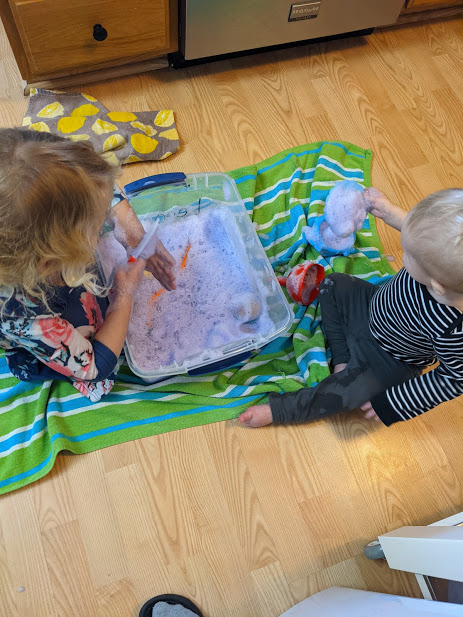
My first activities with my daughter were water sensory bins (because all it takes to clean up when it spills is a towel.) and “painting” with water on construction paper. Again, because cleaning up water is mounds easier than cleaning up rice.
Eventually, all of our water play led to me being more comfortable with dried corn in a sensory bin. Then rice. Then, I let my daughter paint… It was absolutely nerve-wracking, but guess what I learned? The paint can be cleaned up. I can clean it up, and my daughter can learn how to clean when she helps! “Everything can and will be cleaned up.” Now, years later, we paint at least once a week, and I can comfortably leave my 3.5-year-old alone at our kitchen table to play with play-dough. Rome wasn’t built in a day, friends.
Set you and your kids up for success. This is something that deserves a whole blog post, but I’m going to sum it up in two paragraphs for you. When setting up activities, think ahead. Are you working with paint? Keep a wet rag close by for messes. Maybe today is rice sensory bin day? Don’t put the bin near the fridge, because when it inevitably spills, it will roll under there and you won’t ever want to set up a rice sensory bin again. Also, set your kids up for success. No child was born knowing how to play properly in dried rice and corn, they need boundaries and rules! Keep it simple, but keep them there.
Don’t add too much rice, don’t give them access to too much paint, or too much water, etc. Use big blankets or dollar store table cloths and shower curtains to protect your floors. And know your exit plan. What will clean up look like? What will your child help with, and what will you take on? Read my whole list of sensory bin tips here.
I know, I know. This post can be just as overwhelming, if not more so than you were before. But take it in baby steps! Figure it out as you go! Your child isn’t looking for the perfectly curated bin with exactly the lessons and skills they need for their current age and stage.
Your child is looking for an opportunity to play. To spend time with you. To just be a kid. These finite details aren’t here to scare you away or add more to your plate, it’s just a reference guide for when you need help.
So let’s break it down to basics.
How do you start a rice sensory bin? Open a bag of rice. Pour contents into a large bin or bowl. Add in a cup and spoon. Sit on the floor with your child and enjoy.
It really is that simple. So, go play! Go have fun! And go let those kids explore!
Hi friends! A lot of my posts lately have been focused on early childhood and how we can foster this education as parents and teachers. It’s been my focus simply because it’s my daily life right now. I spend the majority of my day fostering the learning of a one-year-old and a three-year-old, so naturally, it’s where my thoughts have been centered.
Because I have been throwing this content at you so much, I felt like it needed a place where it’s all corralled for you for easier searching. Lo and behold! My early childhood page!
Featured on the page are sensory bin lists, tips, and recipes. Some thoughts on raising independent kids. Really great articles on PLAY. And bonus material on emotions in kids and using Myers- Briggs and Enneagram to understand your child better.
This list and page will be ever growing as I continue to create new content in this scope of ideas, so check back later for more articles. You can find this new page on our top banner under “blog”.