Probably my most requested blog post, finally put together for you! A grand list of my early ed activities must-have items. Nothing on this list to too special and majority of the items you will probably find around your house already! To see more tips on early childhood activities, visit this page here. This list is a good starting point if you want to be in a position to be able to just grab and go for activities. Nothing on this list is sponsored or endorsed, just a list from one Early Childhood Educator to another.
Paper/Sticker Supplies
Construction paper
Colored paper
Cardstock
Dot stickers
Paint Supplies
Washable tempera paint
Washable watercolor paint
Rags for cleaning
Paintbrushes- I like the chunkier, bigger kind. Not just the small ones that come with kid’s watercolor kits.
Office Supplies
Crayons
Markers
Permanent Markers- For you, not the kids!
Kid scissors
Pipe Cleaners
Glue
Glue sticks
Painters tape
Sticky notes
Sensory Bin Supplies
Large storage bin- roughly 28 qt
Small storage bin- roughly 6 qt
Sensory bin fillers: A lot of these are materials I have around my house or material I buy for a specific sensory bin I have in mind. I do not keep all of these materials on hand at all times.
Funnels
Small people or animals for pretend play
Bowls
Spoons
Ice cube trays
Muffin tin
Pompoms
Misc
Toothpicks
Popsicle Sticks
Food coloring
Dollar store or IKEA scrub brushes
Shoelaces
Colored beads
Squirt bottle
With this list of supplies that I have on hand, I can pull out an activity usually within a moments notice and only takes about a minute or two for me to set them up, I’m all about the easy, simple activities! If there is something specific I want to do with my kids I will make a trip to the store for those items.
Are there any other must-have items you keep on hand?
If you’re here you need some direction on how to start up sensory bins and other activities for the early childhood age! So before we begin, I want to share with you a whole page I’ve put together of multiple blog posts that can direct you and answer questions that you may have. Check it out here!
Adding in hands-on activities for your early childhood learners can be overwhelming at first, but don’t stress! I am here to help. What qualifies me? I was in the exact same position as you a few years ago. I had the desire to be the #teachermom that pulls out fun, educational activities for my kids, and even followed plenty of people on social media giving me all of the ideas for activities. BUT it seemed absolutely overwhelming to do so. Eventually, I got the hang of it, and now I am in a place where I can walk you through it! Here’s what I did.
I invested in materials. Typically, these materials are fairly inexpensive and you’ll probably find a lot of them around your home (rice, cooking utensils, paper, markers). But I found the most success when all of the materials were there and ready for me to pull out. I spent around $75 at Amazon, Walmart, and The Dollar Store combined. This is also partially because I didn’t want to share my kitchen materials with my kid’s activities, so I spent a good chunk on new spoons, cups, muffin tins, etc. Having all of the materials together and organized helped tremendously to help me feel like I could be a part of this crafty early childhood educator bandwagon of hands-on activities!
I lined out the purpose of these activities. Yes, I want my child to have these experiences and learning opportunities. But was I setting up activities for me to sit down and work with my kids one-on-one? Did I need the activities out to keep them entertained while I worked on something else? Yes to all of the above. However, it would take time to achieve the latter.
I decided to use the sensory bins and activities for one-on-one time and connection with my kids at first, and then eventually use them as something for them to do while I made dinner or worked. I wouldn’t be setting myself up for success by expecting my kids to play independently and keeping expectations of the activities.
I found the right social media accounts to follow. There are parents and educators out there that have done all of the dirty work for us! You don’t have to carefully create a new activity each time you feel your child needs entertainment or has a skill they need to practice. Others have already done it, and they are on social media! My favorites: Busy Toddler and Days with Gray.
These two stand out to me because they don’t post extravagant activities. It takes minimal set up time, simple materials, and are doable for any parent or educator to put together! Watch out for those social media accounts that are posting above and beyond activities that will make you feel inadequate to carry them out!
I made a schedule. This was a temporary thing that I didn’t have to do for long, but helped initially. It made it predictable for all of us and gave me a visual of what I could expect. I decided activities in the morning would be 1:1 and done with new activities that needed a lot of supervision. Afternoon activities, while I was cooking dinner, would be independent activities that I knew I could trust my kids alone with. It looked like this:
Week one: Activities in the morning after breakfast, before nap.
Monday: bubble foam Tuesday: rice scoop and transfer Wednesday: water painting on construction paper Thursday: Color mixing pour station Friday: contact paper art
Week two: morning activities for together time, afternoon activities for independent play
Monday morning: moon sand Tuesday afternoon: water painting on construction paper Wednesday morning: color mixing pour station Thursday afternoon: contact paper art Friday morning: dot sticker line-up/ color match
Week three: Start trying two activities a day!
Monday morning: moon sand Monday afternoon: sticky note shape match Tuesday morning: rice bin scoop and transfer Wednesday afternoon: water sensory bin Thursday morning: play dough Friday afternoon: dot sticker activity
This isn’t exactly but gives you an idea. Mornings were for working together and learning together. Afternoons were for independent play with materials I could trust my kids with. This schedule didn’t last forever, only about 3-4 weeks. But once I was in the rhythm and knew what to expect more, I didn’t need the schedule as much and slowly tapered off. Eventually pulling out activities became intuitive and I could tell when we needed one, what type it needed to be, and so forth.
Do what you feel comfortable with. Are you not into playdough or paint? THAT IS OKAY! You can still have success. Just because a teacher or mom on Instagram shows how “easy” and “doable” it is to let children play with slime doesn’t mean you have to do it too.
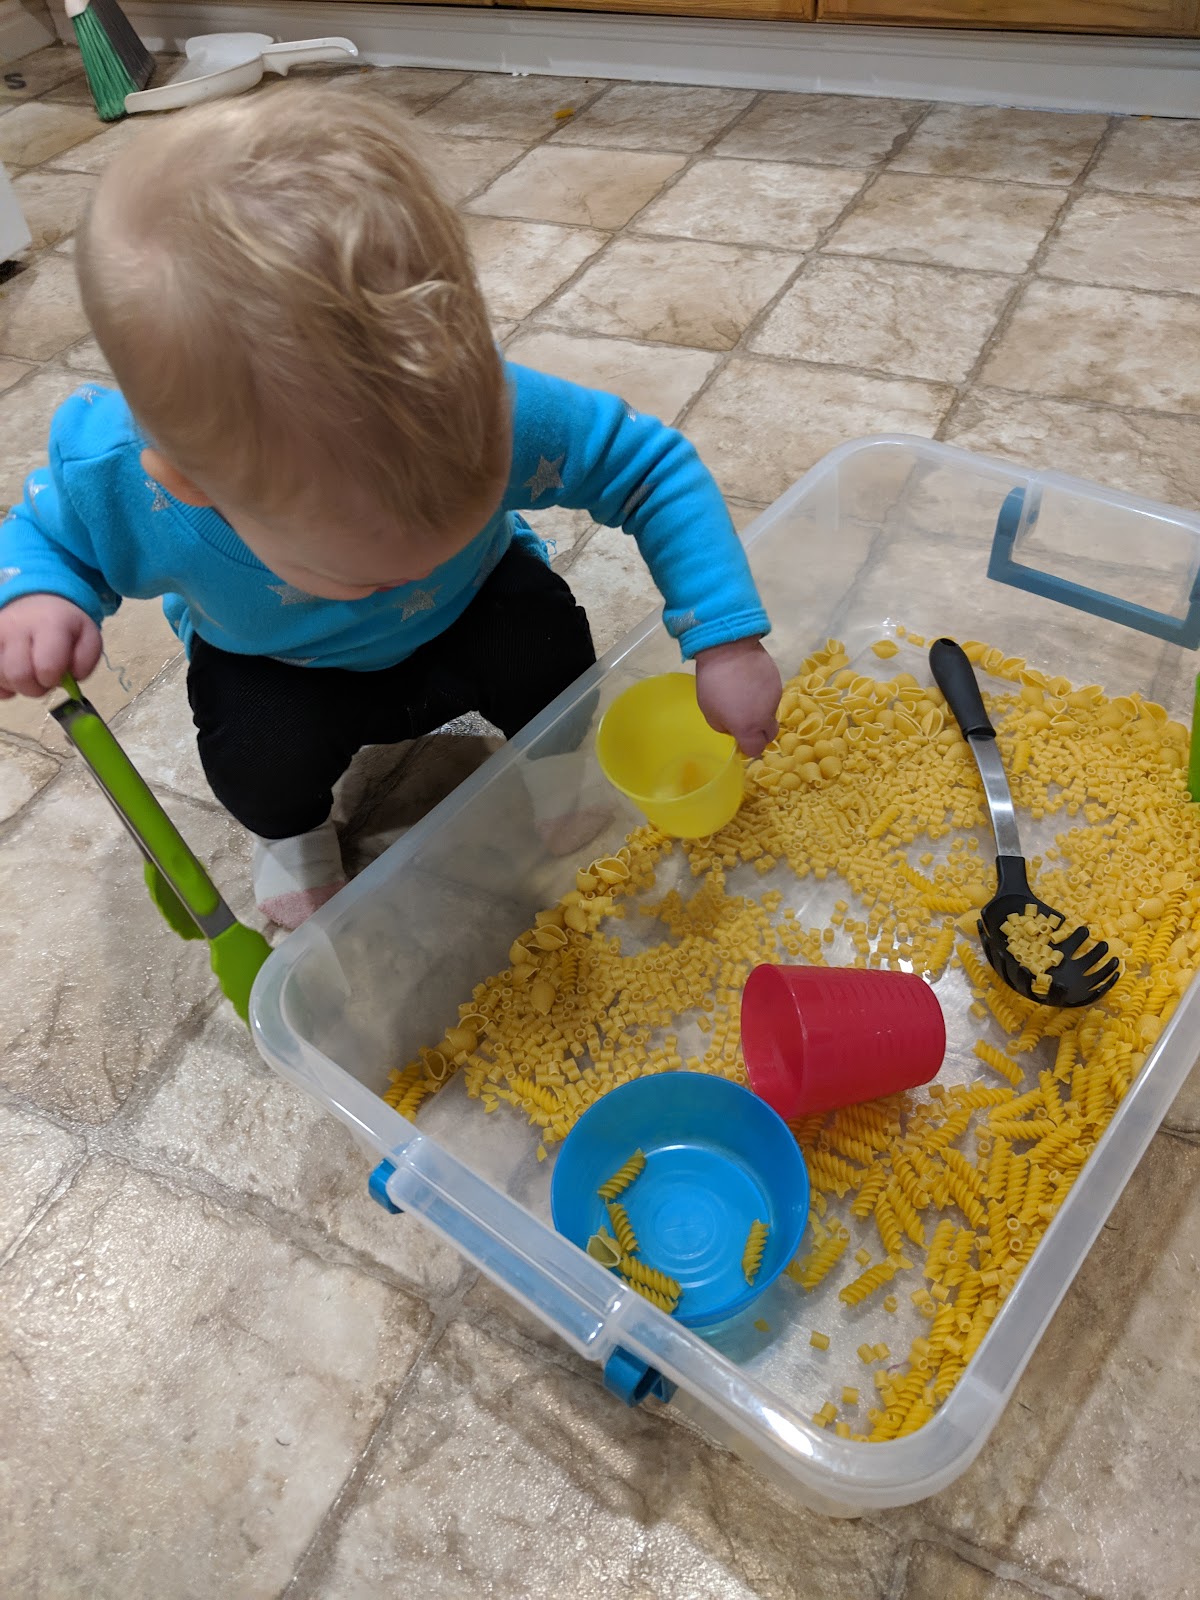
My first activities with my daughter were water sensory bins (because all it takes to clean up when it spills is a towel.) and “painting” with water on construction paper. Again, because cleaning up water is mounds easier than cleaning up rice.
Eventually, all of our water play led to me being more comfortable with dried corn in a sensory bin. Then rice. Then, I let my daughter paint… It was absolutely nerve-wracking, but guess what I learned? The paint can be cleaned up. I can clean it up, and my daughter can learn how to clean when she helps! “Everything can and will be cleaned up.” Now, years later, we paint at least once a week, and I can comfortably leave my 3.5-year-old alone at our kitchen table to play with play-dough. Rome wasn’t built in a day, friends.
Set you and your kids up for success. This is something that deserves a whole blog post, but I’m going to sum it up in two paragraphs for you. When setting up activities, think ahead. Are you working with paint? Keep a wet rag close by for messes. Maybe today is rice sensory bin day? Don’t put the bin near the fridge, because when it inevitably spills, it will roll under there and you won’t ever want to set up a rice sensory bin again. Also, set your kids up for success. No child was born knowing how to play properly in dried rice and corn, they need boundaries and rules! Keep it simple, but keep them there.
Don’t add too much rice, don’t give them access to too much paint, or too much water, etc. Use big blankets or dollar store table cloths and shower curtains to protect your floors. And know your exit plan. What will clean up look like? What will your child help with, and what will you take on? Read my whole list of sensory bin tips here.
I know, I know. This post can be just as overwhelming, if not more so than you were before. But take it in baby steps! Figure it out as you go! Your child isn’t looking for the perfectly curated bin with exactly the lessons and skills they need for their current age and stage.
Your child is looking for an opportunity to play. To spend time with you. To just be a kid. These finite details aren’t here to scare you away or add more to your plate, it’s just a reference guide for when you need help.
So let’s break it down to basics.
How do you start a rice sensory bin? Open a bag of rice. Pour contents into a large bin or bowl. Add in a cup and spoon. Sit on the floor with your child and enjoy.
It really is that simple. So, go play! Go have fun! And go let those kids explore!
Hi friends! A lot of my posts lately have been focused on early childhood and how we can foster this education as parents and teachers. It’s been my focus simply because it’s my daily life right now. I spend the majority of my day fostering the learning of a one-year-old and a three-year-old, so naturally, it’s where my thoughts have been centered.
Because I have been throwing this content at you so much, I felt like it needed a place where it’s all corralled for you for easier searching. Lo and behold! My early childhood page!
Featured on the page are sensory bin lists, tips, and recipes. Some thoughts on raising independent kids. Really great articles on PLAY. And bonus material on emotions in kids and using Myers- Briggs and Enneagram to understand your child better.
This list and page will be ever growing as I continue to create new content in this scope of ideas, so check back later for more articles. You can find this new page on our top banner under “blog”.
Did you catch my post a few weeks ago on how to find success with dyed rice sensory bins? This post will give you tips on rice sensory bins, as well as our favorite tools for rice play. Today, I wanted to share how to make the dyed rice! Here’s my tried and true recipe plus some tips! This rice is taste-safe but does not mean it should be eaten by the handful.
Materials:
1 cup dry rice 1 tablespoon vinegar Lots of food coloring! Liquid or Gel Sandwich bags Sheet pan Wax paper/ parchment paper/ tin foil (optional but nice to have)
Instructions:
Place the rice and vinegar in a plastic sandwich bag. Squirt in lots of food coloring. The more food coloring, the deeper and better the color will turn out.
Sandwich bag with rice, vinegar, and food coloring
Shake the bag until the coloring is evenly spread through the rice!
Spread the rice on a sheet pan to dry. I like to cover my pan with parchment paper (or something similar) to keep the pan cleaner. If this isn’t possible, it’s fine to place the rice directly on the pan. In my experience, it has always washed off with a little soap and water
Dump the rice on a sheet pan
Spread it thin. This is one cup of rice on one half of a standard size cookie sheet.
*The thinner you spread the rice, the faster it will dry.
*For an even faster dry time, put in the oven on the lowest setting. If it’s a sunny day, place outside to dry.
After about 30 minutes, you will have to break up chunks of rice that stick together.
The rice is dry once you can run your fingers through it and it doesn’t leave a residue of color on your fingers.
Other Tips:
Use the 1:1 ratio for rice and vinegar. You can do 2 cups of rice, 2 Tbs vinegar, and so on…
The sandwich bag is a great way for kids to get involved in making the rice, they do great at mixing up the color into the rice!
HOWEVER, we’ve had our fair share of little fingers puncture the ziplock bag, sending rice everywhere and food coloring places you don’t want. Teach your kids to mix the bag with flat hands and rub, like this!
If you’re looking to use less plastic, a glass bowl and spoon work great to mix as well. Make sure to rinse and dry the bowl and spoon before starting another color so you don’t mix colors.
Store in a gallon Ziploc bag or tupperware container.
The rice smells strongly of vinegar for a time. Leave the baggie or container open all day or through the night to get rid of the smell before sealing and storing. Once the vinegar smell goes away, I have never found the strong smell to come back.
The rice can last for years and years stored in an airtight container!
To all of the educators out there teaching in early childhood- the daycare workers, the preschool and kindergarten teachers, even up into first and second grade, this post is for you. First, to salute you for your noble work. Teaching littles can be difficult, emotions run high and logic doesn’t always seem to follow. But at the end of the day, we all know the work we are doing is worth it for those little brains to learn and grow.
Here’s a tool for my fellow sensory bin lovers, something I’ve searched the internet, Pinterest, and Instagram for a few years now, and I am ready to share my findings with you. My best list of sensory bin fillers!
Good old fashioned rice- Fairly common, but always a hit. Dye the rice fun colors for an added twist.
Shaving cream or
Whipped cream- make sure your students know which one is edible!
Pom-poms
Cardboard pieces cut up smaller
Water with scoops and cups
Ice
Playdough
Tissue paper
Water beads
Shredded paper
Dried noodles
Cooked noodles
Foam packing peanuts
Bubble wrap
Cotton balls as pretend snow
A big bucket of snow! What’s more fun than snow indoors for littles?
Dried corn for those fall months
Straw or hay
Fake grass (usually made for Easter baskets)
REAL grass!
Legos
Bubble Foam
Sand or moon sand
Rocks
Leaves
Buttons
If you’re feeling like you’re ready for a really messy day- Dirt!
Feathers
Flower petals/ flowers- either real or fake
Fabric pieces
Beads
The possibilities are endless! We have had so many successes and failures in our sensory bin activities. Some I find are not interesting right away, but left out can facilitate great play. This list is just a start to items you can find in a sensory table, but my hope is that it can get your gears turning for some fun, imaginative play for littles.
What are some of your go-to sensory bin activities? What has worked for you in the past? Is there something new on this list that you are going to try in your classroom?
A child’s play is not simply a reproduction of what he has experienced, but a creative reworking of the impressions he has aquired.